Most board failures I’ve traced over the years didn’t come from faulty components. They came from subtle layout decisions made in the first week of design—a trace too close to a board edge, a hot regulator nestled next to a thermistor, a high-speed clock line wandering across a split ground plane. PCB design is where the battle for reliability is won or lost, long before a single component is placed.
What PCB Design Actually Means
PCB design takes a schematic—a theoretical collection of parts and nets—and turns it into a physical board that can be manufactured and will stay reliable for years. It sounds straightforward, but the gap between “electrically correct” and “manufacturable and robust” is where most headaches live.
A good designer juggles signal integrity, thermal management, electromagnetic compatibility, and the limits of the fabrication shop, all while keeping the board cost down. Simple boards can be roughed out by hand; complex ones need solid CAD tools and a mindset that treats every copper pour as a thermal and electrical decision, not just a fill pattern.
Component Placement: The Quiet Foundation of a Solid Board
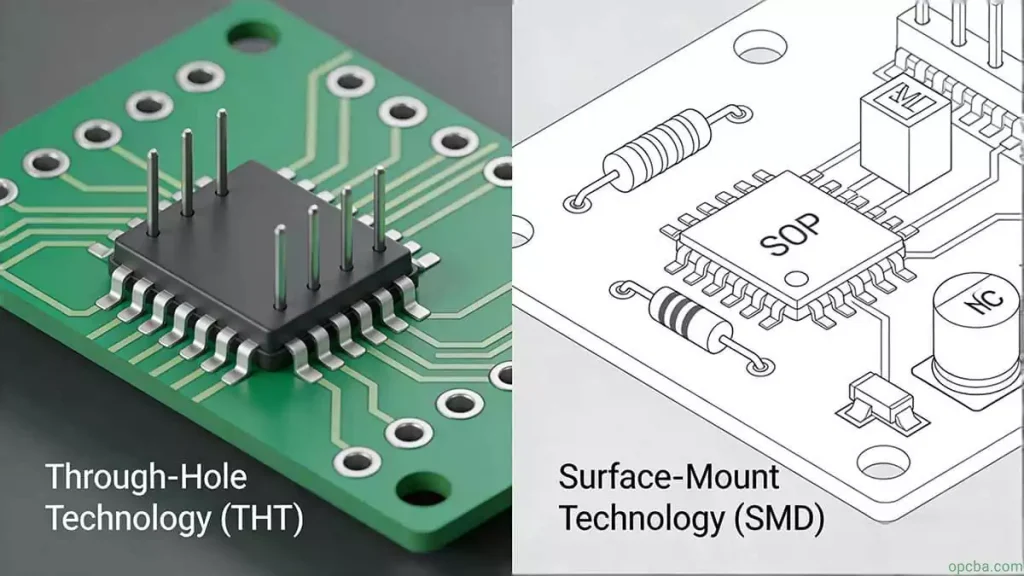
Before routing a single trace, where you put things determines almost everything. I usually start with one rule: keep all surface-mount components on the primary side unless density forces otherwise. When the top side is too tight, low-profile passives like 0402 resistors or small logic ICs can move to the bottom, but never the hot or heavy parts.
Components should sit on a grid, aligned parallel or perpendicular to each other. It sounds cosmetic, but it isn’t. Neat placement reduces assembly errors and helps AOI systems do their job. Overlapping parts are never allowed. The board looks balanced, with even density across the whole area—no big empty patches on one side and a crammed cluster on the other.
A few hard numbers I keep in mind: the minimum spacing between adjacent land patterns of different components is 1 mm. The distance from any component or copper feature to the board edge should be at least 2 mm. For the board outline itself, rectangular is best, with an aspect ratio of 3:2 or 4:3. When the short side exceeds 150 mm, mechanical support points become a topic worth discussing with the enclosure team.
Special Components Demand Special Attention
Every board has a few critical parts that can’t be placed casually. High-frequency chips, precision analog front-ends, connectors, high-voltage nodes, and big heat sources all fall into this category. These special components can break a design if you treat them the same as a pull-up resistor.
PCB layout rules for these parts start with the board size itself. Too large a board, and long traces add impedance and noise susceptibility while driving up cost. Too small, and heat concentrates while adjacent traces couple more than you’d like. I’ve walked into a review where a 200 mm × 150 mm board was chosen for aesthetic reasons, and half the layout problems traced back to that decision.
Once the board size is settled, I place the special components first. High-frequency parts get the shortest possible traces. Sensitive analog nodes sit far from noisy digital outputs. Input and output sections keep their distance. Components with significant voltage differences between them—think a rectified mains node next to a logic-level pad—need extra clearance beyond the standard 1 mm to prevent discharge or arc-over in humid conditions.
For heavy parts exceeding 15 g, I don’t rely on solder joints alone for mechanical retention. A bracket or clip is worth the BOM line item. High-wattage devices are better mounted to the chassis or a dedicated heatsink, not the board itself. Thermally sensitive parts, like thermistors or precision voltage references, get placed well away from regulators and power stages.
Adjustable components—trimmer pots, variable inductors, DIP switches—need to be reachable by hand or tool when the enclosure is open. If a calibration step requires twisting a trimmer with a screwdriver, the designer who buried it under a daughterboard is going to hear about it at first test.
Routing for Signal Integrity and Manufacturability
Once placement is locked, routing starts. For high-speed signals, the trace width and spacing to the reference plane directly control impedance. A 50 Ω single-ended microstrip on standard FR-4 with a 0.2 mm dielectric thickness might need a 0.35 mm-wide trace, but this varies with stackup. I always verify with the fab’s impedance calculator rather than relying on a rule of thumb.
If you’re unsure how to select the right trace width and spacing for your stackup, our guide on How to Choose Trace Width and Spacing for Your PCB Design walks through the practical steps and trade-offs.
High-speed clocks and sensitive analog lines get routed first, with direct paths and uninterrupted reference planes beneath them. Power planes are sectioned according to the block diagram, and return paths are kept short. A split ground plane under a high-speed trace is a sure way to turn a digital board into an accidental radiator.
Many of these principles are well-documented, but PCB layout rules only get you so far. The difference between a board that passes EMC on the first try and one that goes through three respins is usually experience, not a checklist. For a deeper understanding of how impedance affects signal integrity and the methods to control it reliably, see our article on Impedance Control: Characteristics and Methods.The designer who has debugged a failed immunity test knows why a 2 mm edge keep-out matters, or why that stitching via every 5 mm along the board edge isn’t optional.
From the initial library symbol to the final Gerber output, OPCBA’s design team handles the whole flow. We help customers with schematics, PCB layout, and the DFM checks that catch problems before fabrication. If you have a design concept ready or need someone to take over from a schematic, reach out and we’ll walk you through the next step.