A LED buyer calls with a familiar problem. Half a batch of modules came back discolored, or one corner of the panel runs visibly hotter than the rest. The first instinct is to blame the circuit design. In most cases the root cause was locked in during manufacturing, weeks before the board ever reached the assembly line.
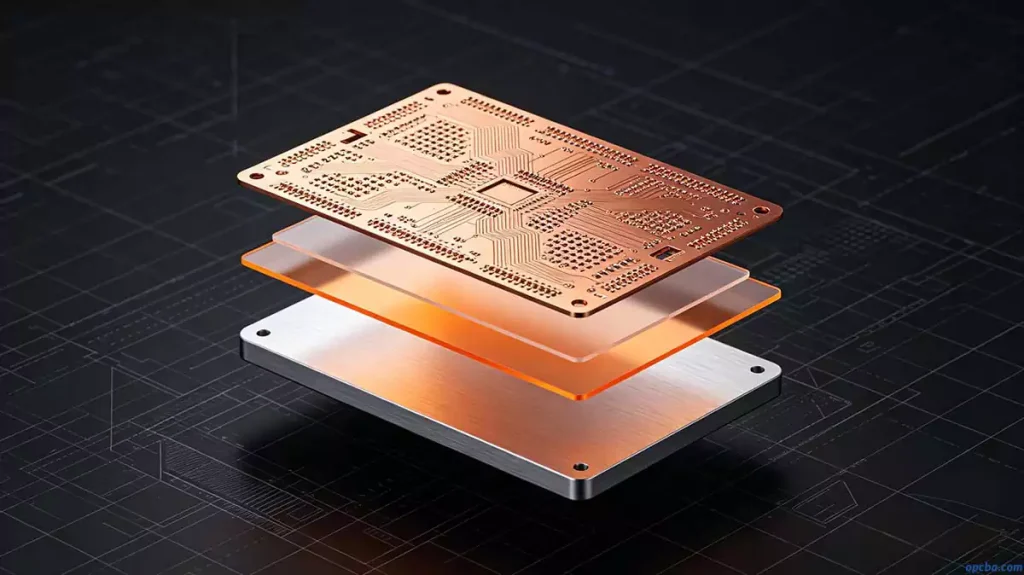
The dielectric is where heat meets light
The thin layer between the copper and the aluminum is doing two jobs at once. It has to pull junction heat down into the metal base, and it has to sit there for years under bright light without changing color. Those two jobs fight each other more often than people expect.
A dielectric rated at 1 W/m·K is fine for a low-power strip light. A high-brightness or COB array needs 2 to 3 W/m·K, or the heat simply piles up at the LED. But the same layer is also what yellows first when the material is cheap. The shift is subtle at first, a warm white turning cream, then the whole panel looks off. Specifying the conductivity and asking the supplier about yellowing resistance under prolonged heat are two different questions, and both matter. The thermal side of why this layer decides everything is covered in our guide to how an aluminum substrate moves heat at the component level.
Copper weight is current capacity, not a guess
The LED current runs through the circuit layer, and that layer has a thickness. One ounce copper carries a modest strip light. A COB module or a high-brightness bar needs two ounces or more, because thin copper heats up on its own and adds to the junction temperature instead of helping. We see boards fail not because the idea was wrong, but because the copper was spec’d for a different product. Match the weight to the actual current, not to the cheapest option.
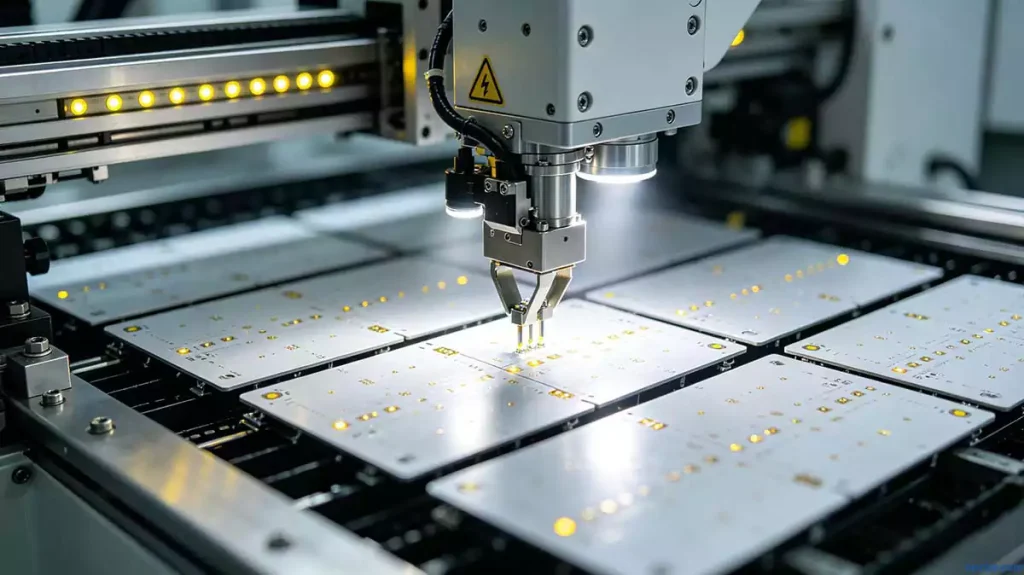
The white solder mask looks simple. It is not.
White mask does two things: it reflects light back out of the board and it hides the metal so the panel reads clean. The trap is that a cheap white mask yellows under UV and heat, which is the single most common reason a white LED board turns beige after a few thousand hours. A high-Tg, UV-stable white costs a little more and pays for itself by keeping the color where it was on day one. If a supplier quotes a suspiciously low price on a white LED board, the mask is the first place to look.
Surface finish decides your assembly yield
HASL is cheap and robust, but the uneven surface it leaves hurts fine-pitch LED placement and can tilt small components. ENIG gives a flat, bondable surface that high-density LED work wants, at a higher cost. OSP is the budget choice but it does not sit on a shelf well, so it only makes sense when you assemble fast. The right finish is the one your placement machine and your volume agree on, not the one on a default quote.
When a flat board is not enough
For a powerful COB array, spreading heat through the dielectric may not be enough. That is when manufacturing adds thermal vias, small plated holes that carry heat straight through to the aluminum base, or a copper coin, a solid block pressed through the layer under the hot device. This step is what separates a board that merely looks like a metal core PCB from one that actually cools a hot spot. Skipping it to save cost is the difference between a panel that runs cool and one that develops the hot corner the buyer complained about.
None of this shows up in a Gerber file. The board lives or dies on the stack-up and process choices made upstream, which is why we start every LED job from the aluminum PCB structure and the light spec, not just the layout. Send us the thermal load and the color target together, and the manufacturing choices fall into place.
If you are freezing an LED board, talk to our team about the stack-up before the tooling is cut, not after the first batch comes back wrong.