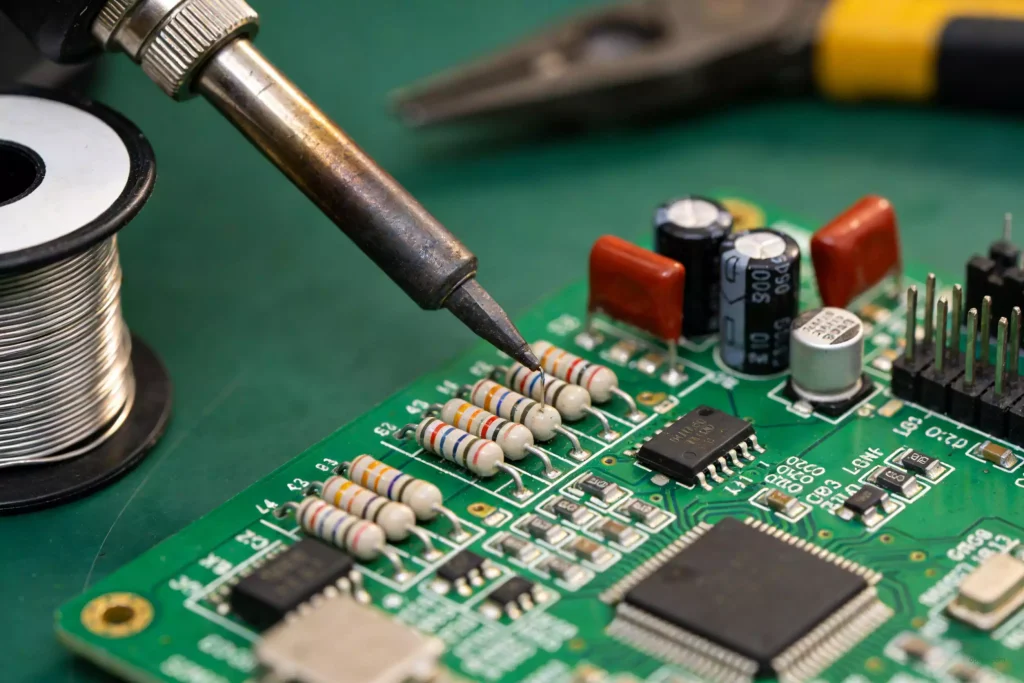
PCB etching is the step that transforms bare copper-clad boards into functional circuits, by chemically removing unprotected copper to leave only the traces you need.
The quality of this process directly determines the precision and reliability of fine-line PCBs, especially for high-density designs.
Key Factors That Shape Etching Outcomes
The right choices here can make or break your results.
Etching Solution Choice & Concentration
The PCB etching solution you pick is foundational to how your board turns out.
Different chemistries lead to different etching rates and coefficients, so matching the solution to your design is non-negotiable.
Concentration isn’t a fixed number; you’ll need to test based on your corrosion mechanism and copper foil type, aiming for a wide process margin to handle variation.
Temperature Control
Temperature plays a big role in how the solution performs.
Warmer temperatures speed up the reaction, improve fluid flow, and lower viscosity, boosting etching rate.
But too high, and you risk volatile components evaporating, throwing off the solution’s chemical balance.
It can also damage polymer anti-oxidant layers and shorten equipment life, so keeping it within a tight, controlled range is key.
Copper Foil Thickness
The thickness of your copper foil directly impacts trace density and precision.
Thinner copper etches faster, with minimal side corrosion, making it ideal for fine lines.
Thicker foil takes longer, leading to more undercutting, so you’ll need to match thickness to your design’s line width and density requirements.
Other foil properties, like elongation and surface structure, also affect how the solution interacts with the copper.
Circuit Geometry
The layout of your traces affects how the etching solution flows across the board.
Uneven trace distribution (wide-spaced vs. narrow-spaced areas) can lead to over-etching in open sections.
That’s why designers should aim for uniform trace density and consistent line widths across the board.
For large copper ground planes, using a mesh pattern instead of solid copper helps balance etching results.
The Core PCB Etching Workflow
This step-by-step process keeps etching consistent and controlled.
Photoresist Patterning
This is where you define the circuit traces to keep.
You’ll coat the copper with photoresist, expose it through a film, then develop it to remove unexposed areas, leaving only the pattern you want protected.
Uniform coating and precise exposure time are key here to avoid defects later.
Etching the Unwanted Copper
Once the pattern is set, you’re ready for the main PCB etching process.
Place the board in a tank with your chosen PCB etching solution, using a stirrer to keep the solution mixed evenly.
Over time, the solution will corrode the unprotected copper, leaving only the resist-covered traces intact.
Post-Etch Cleaning
After etching, you’ll need to strip off the remaining photoresist and clean away any residual chemicals.
A cleaning solution and tank, with a stirrer to ensure even coverage, will remove impurities and prepare the board for subsequent steps like drilling and soldering.
Practical PCB Etching Precautions
Even with a solid workflow, small oversights can ruin a batch.
These PCB etching precautions address the most common issues we see in production.
First, keep a close eye on photoresist application—uneven coating or incorrect exposure can leave gaps that lead to unwanted copper removal.
Second, always monitor your etching solution’s concentration and temperature; even small drifts can throw off etching rate and cause under- or over-etching.
Third, for high-density designs, test the solution’s performance with your specific copper foil thickness and trace geometry before full production.
At the end of the day, etching is all about balancing process control and design considerations.
Getting the details right means consistent, reliable circuits that meet your specs.