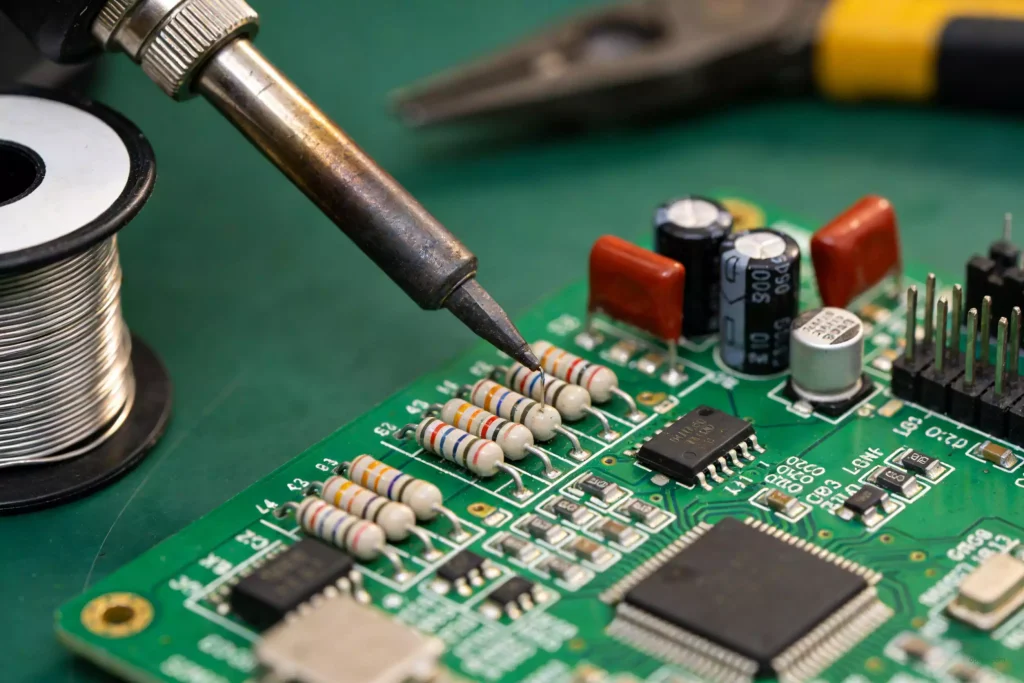
A fully assembled board can look flawless under a microscope and still fail in the field because of a hidden open trace. That’s why every PCB, before it ships, undergoes a final electrical check to catch shorts, opens, and poor connections. The industry largely relies on two PCB test methods: the flying probe test and the dedicated fixture test. Each has its place, and the choice often comes down to order size, turnaround, and budget.
How a Flying Probe Machine Hunts Down Defects
Unlike the traditional bed-of-nails fixture, a flying probe system doesn’t require a custom tool. It uses four to eight independently controlled probes that move across the board, touching test pads in sequence. The unit under test is loaded onto a conveyor and positioned automatically. The probes are connected through a multiplexing system to signal generators, power supplies, and measurement instruments. While one component is tested, adjacent components are electronically guarded to prevent interference. This flexibility makes PCB electrical test quick to set up for prototypes and small batches. I’ve seen a flying probe catch a via crack that slipped past optical inspection just by measuring the resistance of a single trace segment.
The Fixture: Speed for the Volume Line
For volume production, a fixture test is the faster horse. A custom-built test jig—often called a bed-of-nails—holds a field of spring-loaded pins that contact every test point at once. The PCB is clamped into a sliding carrier, secured by stops and a pressure bar, and the pins engage as the fixture closes. This not only speeds up the electrical check but also keeps the board rigid for companion optical inspection. The mechanical design is straightforward: a base with rails, a clamping plate, and a top bar that locks the board in place. The result is a stable platform that eliminates movement—critical when a camera needs to capture sharp images for automated inspection.
Why There’s a Fixture Charge on One Order and Not Another
One question I hear often: “Why is there a fixture charge on my production order but not on my prototype?” Here’s the short answer. If the total PCB area of your order stays below roughly two square meters, a flying probe machine can test the boards without any custom tooling. That’s the domain of PCB test methods for samples and low‑volume runs—no fixture, no NRE. Once the order area crosses that threshold, producing a fixture test becomes economical. The jig is a one‑time cost, but it dramatically reduces test time per board. It’s not a hidden fee; it’s simply the point where speed meets scale.
In the end, selecting between PCB test methods comes back to your build quantity and your tolerance for NRE. The flying probe test gives you flexibility and zero tooling cost for small jobs. The fixture test delivers throughput for production. Both are forms of PCB electrical test, and when run correctly, they serve as the last line of defense before a board lands on your customer’s bench. If you have questions about which test method fits your project, OPCBA can help—send us your Gerber file and we’ll return a real PCB.