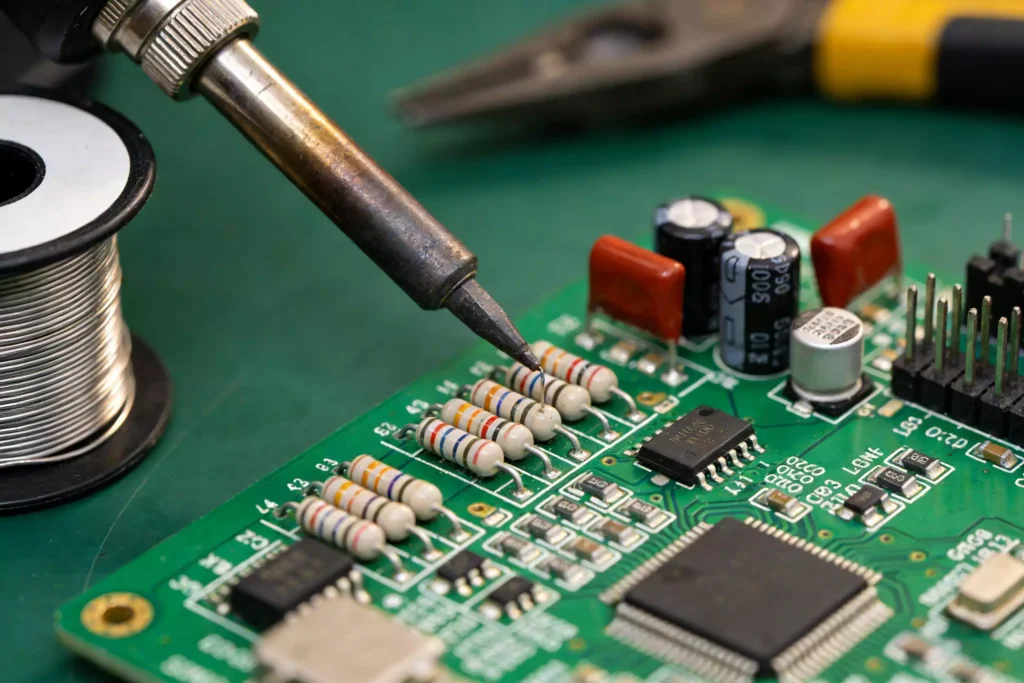
Baking a PCB means holding it at a controlled temperature, usually 105 °C to 125 °C, long enough to drive out the moisture the laminate absorbed since it left the fabricator. It removes that moisture before reflow turns it into steam, and it relaxes the stress locked in during lamination. Both matter more on thick and multilayer boards.
FR-4 absorbs water continuously at a rate set by temperature and humidity, and a board that sat in a warehouse for months carries that moisture into the reflow oven, where 245 °C turns it to steam inside a sealed stack. The failures that follow are consistent:
- Delamination and measling at the resin-glass interface
- Blisters and popcorning during reflow
- Cracked via barrels and pad cratering
- Warpage that appears only at reflow temperature
- Joints that look sound at inspection and fail in the field
Why PCB Needs Baking
1. Removing Internal Stress
Lamination presses copper and prepreg together at around 200 °C, and the panel cools under pressure. Copper, resin, and glass shrink at different rates on the way down, so the finished board carries locked-in stress. Reheating without restraint lets it relax, which is why a bake improves dimensional stability through drilling, assembly, reflow, and service. It matters most on multilayer and HDI boards, where an asymmetric stack accumulates stress across more layers.
2. Removing Moisture From the Board
Standard FR-4 takes up 0.1 to 0.15% of its weight in water in 24 hours at high humidity, and approaches 0.5% at saturation. At 260 °C that water expands by a factor of over a thousand, and inside a laminated stack the vapour has nowhere to go. Delamination, layer separation, barrel cracks, and the popcorn of a blister opening are the same event at different scales.
3. Improving Solderability
A dry board wets better. Moisture at the pad surface flashes off as the paste reflows and leaves a gas pocket between alloy and copper, one route to a cold joint that looks joined and measures open. This is a secondary benefit: if a board needs baking only for solderability, storage or the surface finish is the real problem.
Temperature and Time Requirements
What Sets the Temperature
The ceiling is the glass transition temperature. Above Tg the resin softens and the coefficient of thermal expansion jumps, which undoes the dimensional stability the bake was meant to protect. Standard FR-4 sits at Tg 130 to 140 °C, mid-Tg at 150 to 170 °C, and high-Tg above 170 °C, so 120 ± 5 °C covers most standard boards and 125 ± 5 °C is kept for high-Tg grades.
The finish sometimes sets a tighter limit, and this is where a generic 120 °C recipe goes wrong. OSP degrades above about 110 °C, so a thick OSP layer baked at 120 °C for six hours is a coating that no longer protects the copper. Rogers, PTFE, polyimide, and flex substrates also want 105 to 110 °C. ENIG tolerates 120 °C, but every hour at that temperature gives the nickel beneath the gold more chance to diffuse through and oxidize at the surface.
What Sets the Duration
Thickness decides how long the water takes to reach the surface. Moisture moves by diffusion, so path length matters more than volume, and a 3 mm stack needs several times the bake of a 1 mm one. Published profiles run from about 2 hours for a thin board to 12 to 24 hours for 3 mm and above at 120 °C.
Layer count adds to that. A 16-layer board has more resin interfaces and a longer path from the centre, so the same thickness is usually given 50 to 100% more time. Flex and rigid-flex need longer again.
Baking by Storage Time
Storage time answers a different question: whether to bake at all, judged by how long the board has been out of the fabricator’s control.
| PCB Storage Time | Recommended Baking Condition |
|---|---|
| Within 2 months after manufacturing | 120 ± 5 °C for 1 hour |
| 2 to 6 months storage | 120 ± 5 °C for 2 hours |
| 6 to 12 months storage | 120 ± 5 °C for 4 hours |
| More than 12 months storage | 120 ± 5 °C for 6 hours (if necessary) |
1. Storage Within 2 Months
A board made within two months and still in an unopened vacuum bag needs no bake. Once the bag is opened the clock starts, and IPC-1601 puts the floor life at five days in a controlled workshop, meaning 30 °C or below and 60% RH or below. Past that, bake at 120 ± 5 °C for one hour. The humidity indicator card overrides the calendar: a dry card means the boards are still dry whatever the date says.
2. Storage Between 2 and 6 Months
Two to six months calls for 120 ± 5 °C for two hours. Check the bag and the card first, since a board never opened and showing a dry card still needs no bake.
3. Storage Between 6 and 12 Months
Six to twelve months calls for 120 ± 5 °C for four hours. At this age the finish is as much of a concern as the moisture: OSP is near the end of its window, and ENIG may already show nickel diffusion under the gold.
4. Storage Longer Than 12 Months
Past twelve months the boards are not recommended for production. The bonding has aged, interlayer adhesion is lower, and the finish may no longer be solderable, none of which a bake reverses. If they have to be used, bake at 120 ± 5 °C for six hours, build a sample panel, and confirm solderability before releasing the lot.
Effect of Long-Term Storage on Surface Finish
Storage degrades the finish faster than the laminate. ENIG carries a shelf life of about twelve months, and the mechanism is diffusion: the gold is roughly 0.05 to 0.1 µm thick, and at storage and bake temperatures the nickel beneath it migrates along grain boundaries until it reaches the surface and oxidizes there. What comes out is a pad that looks solderable and will not wet. A board with 0.05 µm of gold reaches that limit sooner than one with 0.1 µm.
After Baking: The Clock Starts Again
A baked board is dry the moment it comes out of the oven, and it starts absorbing again immediately. The window is short: common practice is to begin assembly within about four hours of the bake, and to reseal anything that will not be used into moisture-barrier packaging within two hours. A board left on an open rack overnight is close to where it started.
If the window is missed, bake again rather than assume. One hour at 120 ± 5 °C returns the board to its starting condition and costs far less than a reflow oven full of delaminated panels. Record the bake time on the traveller so the next station knows when the clock started.
Stacking and Loading the Oven
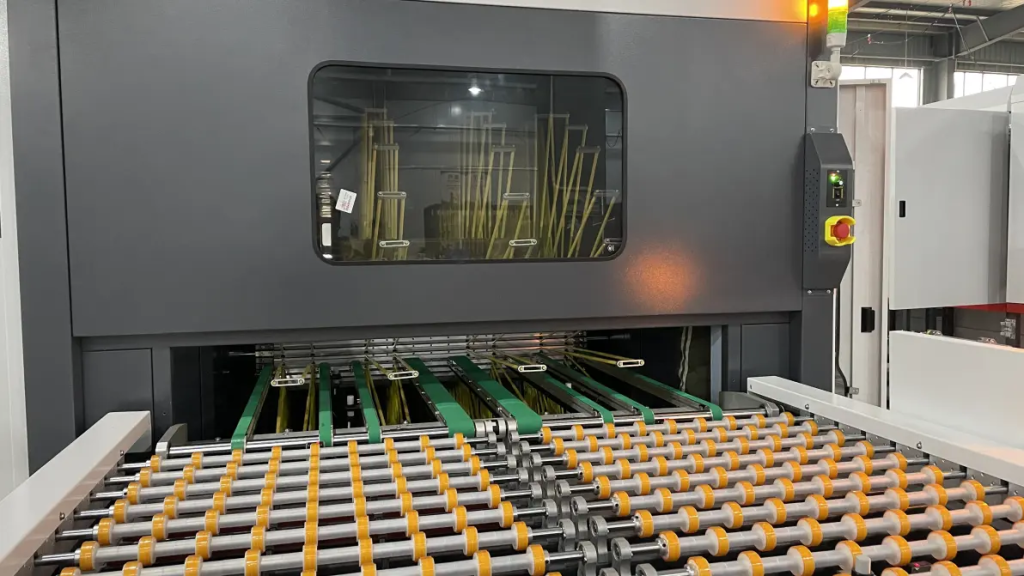
How boards sit in the oven decides whether the bake is even. Two boards face to face trap moisture between them, and a stack that is too tall dries at the bottom while staying wet in the middle. Every board surface needs a path for the vapour to leave, which is what sets those limits.
Large Boards
Large panels go horizontal, no more than 30 to a stack, with a flat support under each stack so the weight does not bow the bottom board while the resin is soft. Vertical loading on a large panel adds warpage risk without adding throughput: the board’s own weight acts on its longest dimension at the temperature where it is weakest.
After the bake, open the oven within ten minutes, take the boards out carefully, and lay them flat to cool, with an anti-warping fixture under anything thin or large. A board is still soft when it comes out.
Small and Medium Boards
Small and medium panels can go either way; pick on throughput, since both dry the board.
Horizontal Stacking
Up to 40 boards per stack, with the same flat support and the same ten-minute rule.
Vertical Placement
No fixed limit on quantity, and better airflow between boards. Leave enough gap that vapour from one board does not re-enter the next, and use a rack that holds them without clamping.
Precautions
1. Stay Below Tg
The bake temperature has to sit below Tg with margin. Standard FR-4 at Tg 130 to 140 °C is baked at 120 ± 5 °C, which leaves 5 to 15 °C of headroom; high-Tg material above 170 °C can take 125 ± 5 °C. Running a standard-Tg board at 125 °C for six hours spends that margin and buys nothing.
Lead-free assembly is often described as needing Tg above 150 °C, and that is a recommendation rather than a rule: plenty of standard FR-4 at Tg 130 to 140 °C goes through a 245 °C reflow every day. What lead-free does change is the moisture budget, because a higher peak turns the same water into more steam.
2. Vent the Oven
The water leaving the boards has to leave the oven. Without extraction the humidity inside climbs through the cycle, the driving force for diffusion falls, and the bake ends with the boards still wet while the recorder shows a perfect profile. A convection oven with proper exhaust does this by design; a sealed one does not, whatever the setpoint says.
Recommended Practices
1. Use 105 °C Where the Material Requires It
105 ± 5 °C exists for a specific set of materials: OSP boards, where the coating degrades above about 110 °C; Rogers and PTFE laminates; polyimide and flex substrates; and any board whose Tg leaves no margin at 120 °C.
The cost of the lower temperature is time. Diffusion runs slower, so a 105 °C bake takes longer than the 120 °C equivalent. OSP at 105 ± 5 °C for under two hours, assembled within 24 hours, is the usual compromise, and it exists because the coating is the limiting part.
2. Check the Humidity Indicator Card First
Not every board needs an oven. A vacuum bag carries a humidity indicator card, and the card, not the manufacturing date, is the first thing to read. If the bag is intact and the card shows no exposure, the boards go straight to assembly.
Treat the card as a spot check: a marginal reading means wet. A bag that never had a card means the storage history is unknown, which is its own reason to bake.
3. Placement During Baking
Vertical placement improves airflow and moisture removal, and suits small and medium panels. Large boards are the exception, because vertical loading bows them. Whichever way they go in, the gap between boards matters more than the count.
Risks of Excessive Baking
Baking is a thermal cycle, and every cycle has a cost. The same six hours that remove moisture also grow the intermetallic, oxidize the finish, and spend part of the laminate’s thermal budget.
1. Surface Oxidation
Higher temperatures and longer times accelerate copper oxidation and degrade the finish. On bare copper or OSP the effect shows as a colour change; on ENIG the effect is the same nickel migration. Neither is reversible by another bake.
2. OSP Boards
OSP is the finish most exposed to this. The coating protects copper by being there, and it does not survive 120 °C for hours. If an OSP board has to be baked, 105 ± 5 °C for under two hours, then assemble within 24 hours. Past that the coating has to be stripped and re-applied.
3. IMC Growth
HASL and immersion tin both form an intermetallic layer with the copper during fabrication. That layer keeps growing with every thermal excursion, and the bake is one. A thicker intermetallic is more brittle, and a joint whose IMC has grown too far fails in cycling rather than in PCBA testing.
Summary
Baking solves one problem, moisture, and creates two: thermal exposure and a short window in which to use the board. Five inputs decide two numbers: the finish and the Tg bound the temperature, thickness and layer count bound the duration, and storage history decides whether a bake is needed at all. The clock starts when the oven door opens, and a board that went back on a rack overnight has to be baked again. If the bake is one step in a longer sequence, PCB manufacturing covers the steps on either side.