In PCBA (Printed Circuit Board Assembly) processing, soldering defects are one of the most common issues we face.
Among them, false soldering in PCB assembly—and its close cousin, cold soldering—can be devastating for product reliability.
They often lead to intermittent connections, premature failure, and costly rework.
In real production, these defects aren’t random. They stem from process gaps, component issues, and human error.
Below, we break down the root causes and share actionable, factory-proven solutions to eliminate them.
What Are False & Cold Soldering?
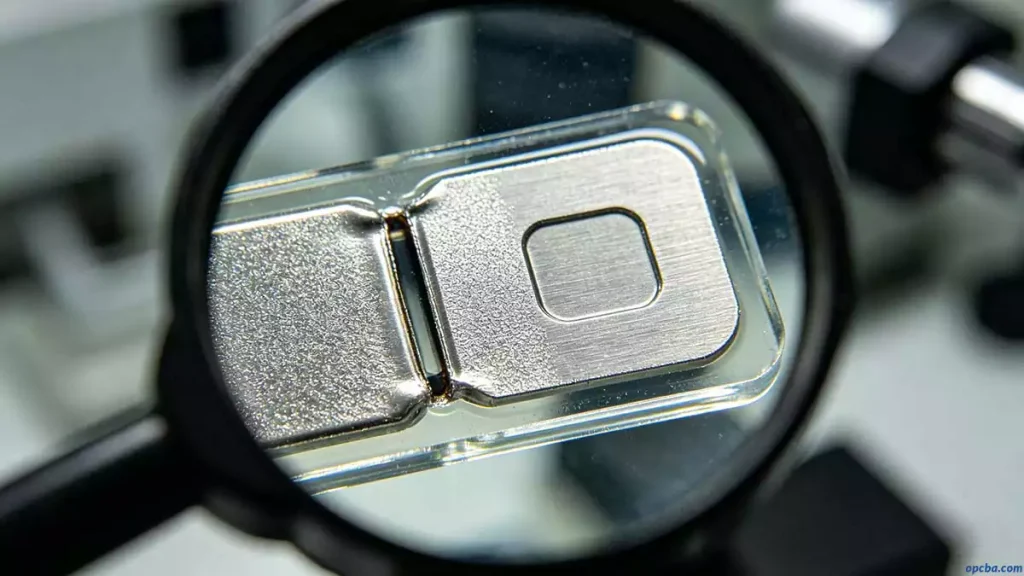
Put simply, false soldering happens when the solder fails to fully wet the component pins or PCB pads.
Cold soldering is similar—it occurs when the solder doesn’t reach its melting temperature, resulting in a brittle, weak connection.
Both look like “good joints” at first glance, but they compromise long-term reliability.
How to Prevent Soldering Defects in PCBA
We split our prevention strategy into six key areas, based on feedback from our production line and past failure analyses.
1. Moisture-Proof Component Storage
Components left in humid air for too long absorb moisture and oxidize.
This oxide layer acts as a barrier, preventing proper solder wetting.
In practice, we always bake components with high moisture content before use.
Oxidized components are replaced immediately, as they can’t be salvaged.
Most PCBA manufacturers have dedicated ovens for this step—never skip it.
2. Select High-Quality Solder Paste
Solder paste quality directly impacts wetting performance.
Poor flux activation or uneven metal composition leads to incomplete fusion and PCBA soldering defects.
We recommend trusted brands like Chisso, Alpha, and Vitronics Soltec (Viteco).
They deliver consistent activation, stable flow, and reliable joints. For more on how to choose and use solder paste effectively, check our guide: Application of Solder Paste in SMT.
3. Optimize Solder Printing Parameters
Most cold soldering and false soldering issues trace back to insufficient tin volume.
To fix this:
- Adjust squeegee pressure for consistent deposit.
- Use a stencil with an appropriately sized opening (avoid overly small apertures).
- Monitor print alignment to prevent misalignment-related tin shortage.This step ensures enough solder is present to form a strong bond.
4. Control the Reflow Soldering Temperature Curve
The reflow soldering temperature curve is the single most important factor in automated soldering.
- Preheating zone: Allow enough time for flux to activate and burn off oxides. Too little time leads to trapped residue.
- Soldering zone: Timing and temperature must align with solder alloy specs. Too short, and wetting fails; too long, and components can be damaged.We run daily curve tests to match each product’s component mix.
5. Prioritize Reflow Soldering Over Manual
Manual soldering relies heavily on operator skill.
A soldering iron that’s too hot or too cold will create cold joints or burn pads.
Reflow soldering reduces human variables, leading to more consistent, repeatable results.
We only use manual soldering for repairs or hard-to-reach components.
6. Maintain Proper Soldering Iron Temperature
For rework and manual repairs, temperature control is critical.
- Keep the tip clean and tinned to ensure good heat transfer.
- Match the iron’s power to the component size (smaller components need lower wattage).
- Keep the soldering temperature between 300°C–360°C, and limit contact time to 2–3 seconds per joint.This minimizes thermal stress and avoids cold joints.
Final Takeaway
Eliminating false soldering in PCB assembly requires attention to detail at every stage—from component storage to final inspection.
By following these practical, production-tested steps, you can drastically reduce soldering defects and improve overall product reliability.
If you need support with your PCBA process, our team at OPCBA can help with manufacturing, troubleshooting, and quality control.
Contact us to discuss your project.


