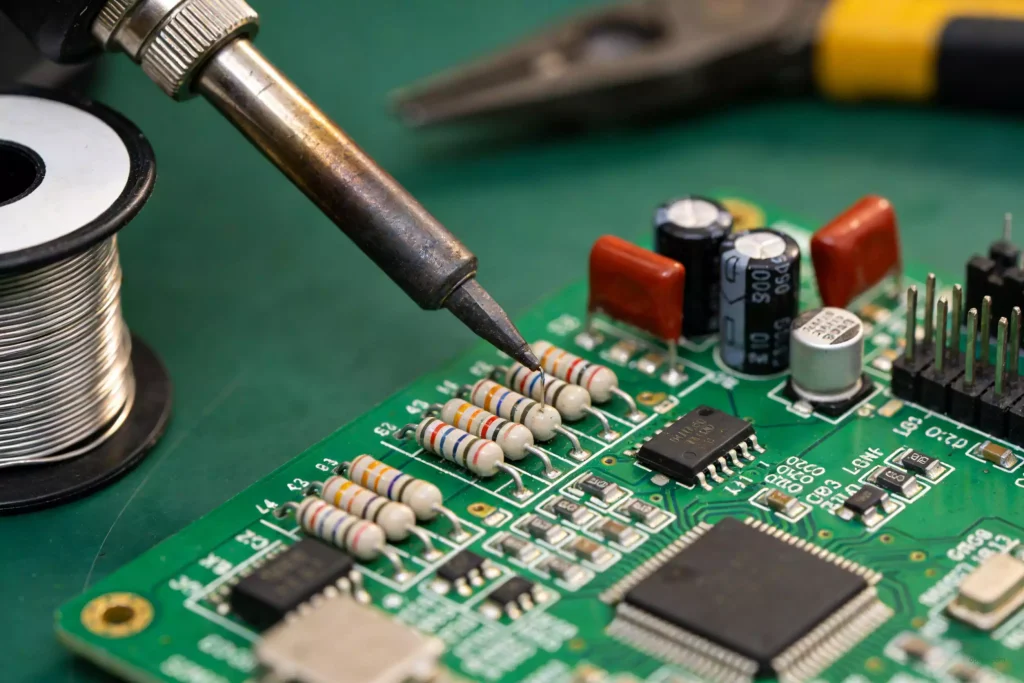
In the previous article, we covered three essential PCB debugging methods for engineers learning how to test circuit for short on electronic board. These included pre-power-on inspection, static testing, and dynamic testing, which help identify many common PCB issues before they develop into serious failures.
However, even when these basic debugging procedures are followed correctly, unexpected problems can still occur during testing. Hidden short circuits, intermittent faults, component failures, and measurement errors can make troubleshooting far more challenging than expected.
In this article, we will continue our PCB debugging guide by focusing on two equally important topics: critical precautions during circuit debugging and practical methods for diagnosing faults when problems arise. Understanding these advanced troubleshooting techniques can help engineers locate failures more efficiently, reduce debugging time, and improve overall PCB reliability.
PCB Debugging Precautions
Use Instrument Ground Connections Correctly
When testing electronic circuits with grounded instruments, the instrument ground should always be connected to the circuit ground.
Improper grounding can introduce unwanted interference, affecting the operating condition of the circuit and creating measurement errors.
For example, when measuring the collector-emitter voltage (VCE) of a transistor amplifier, it is often more accurate to measure the collector voltage (VC) and emitter voltage (VE) separately relative to ground and then calculate the difference.
Battery-powered multimeters typically have floating inputs, allowing direct measurement across test points without grounding concerns.
Ensure the Instrument Input Impedance Is High Enough
The input impedance of the measuring instrument should be significantly higher than the equivalent impedance of the circuit under test.
If the instrument impedance is too low, it can load the circuit and alter the actual operating conditions, resulting in inaccurate measurements.
This is particularly important when troubleshooting sensitive analog circuits and high-impedance nodes.
Verify Instrument Bandwidth Requirements
The bandwidth of the test equipment should exceed the bandwidth of the circuit being measured.
Using an oscilloscope or analyzer with insufficient bandwidth may distort signals and hide critical faults that affect PCB performance.
Select Test Points Carefully
Different measurement locations can produce different results due to loading effects and signal characteristics.
Choosing appropriate test points not only improves measurement accuracy but also speeds up PCB fault diagnosis.
Measure Voltage Whenever Possible
In many situations, measuring voltage is easier and safer than measuring current because voltage measurements do not require breaking the circuit.
When current values are needed, engineers can often calculate current indirectly by measuring the voltage across a known resistor and applying Ohm’s Law.
Record Every Test Result
Successful PCB debugging relies heavily on accurate records.
Engineers should document:
- Test conditions
- Measured voltages
- Waveforms
- Signal amplitudes
- Phase relationships
- Abnormal observations
Comparing recorded data with theoretical values often helps identify design issues and improve future PCB designs.
Common PCB Faults and Troubleshooting Methods
Even after careful testing, circuit faults can still occur.
When a problem appears, avoid immediately disassembling and rebuilding the PCB. If the fault originates from the schematic design or component selection, rebuilding the board may not solve the issue.
Instead, treat troubleshooting as a systematic process of analysis and diagnosis.
Step 4: Identify Fault Symptoms
Finding faults in a complex electronic system requires a structured approach.
The troubleshooting process typically begins with observing fault symptoms, followed by measurement, analysis, and verification until the root cause is identified.
Common Fault Symptoms
Some of the most frequently encountered PCB problems include:
- Output signals appearing without any input signal
- No output signal despite valid input signals
- Distorted or unstable waveforms
- Power supplies producing no output voltage
- Excessive output voltage
- Unstable voltage regulation
- Oscillator circuits failing to oscillate
- Counter circuits generating unstable signals
Common Causes of PCB Failures
- Damaged components
- Short circuits
- Open circuits Incorrect wiring
- Environmental changes
- Aging components
- PCB manufacturing defects
Step 5: Use Proven Fault Diagnosis Techniques
Once a fault has been identified, engineers can apply several troubleshooting techniques to locate the problem more efficiently.
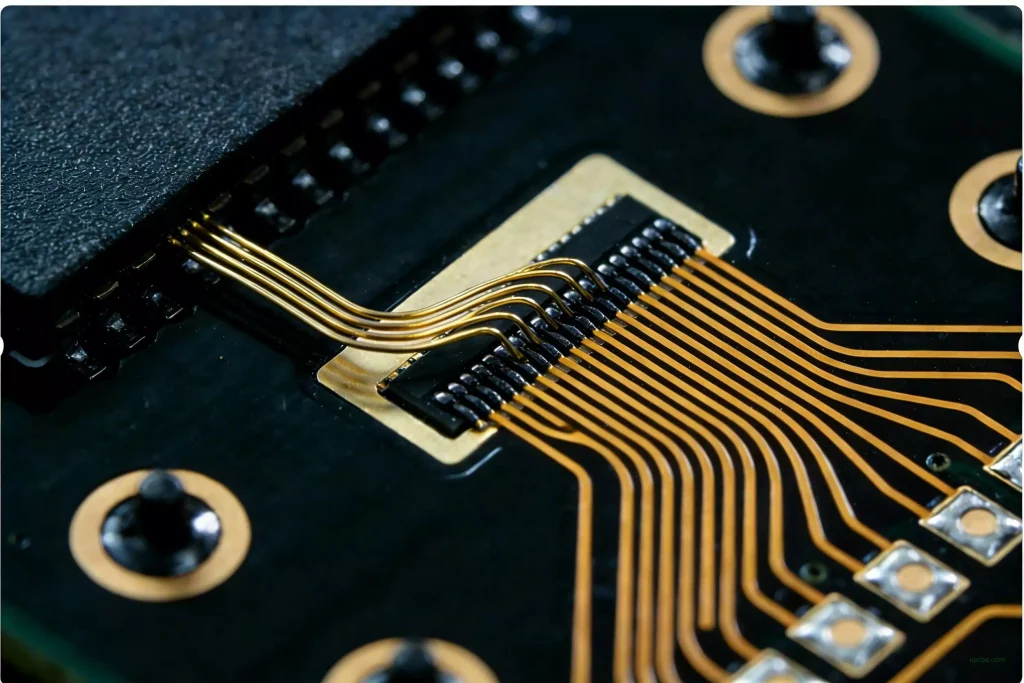
Visual Inspection
Check for:
- Burned resistors or capacitors
- Cracked components
- Incorrect component orientation
- Missing connections
- Solder bridges
- Broken PCB traces
During power-on testing, look for:
- Smoke
- Overheating components
- Burnt odors
- High-voltage arcing
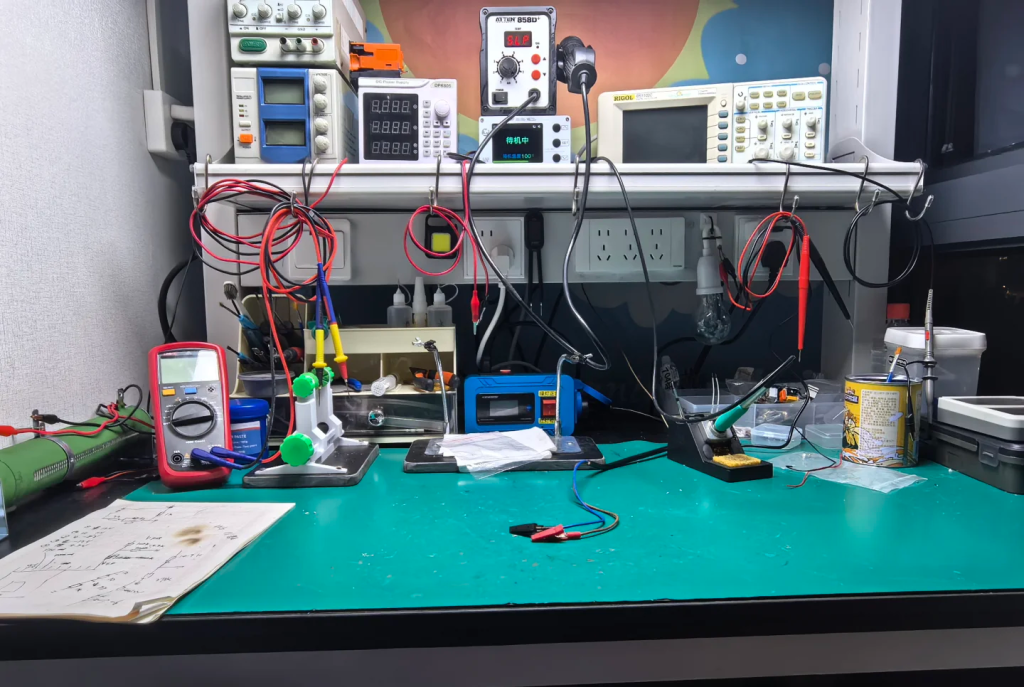
Static Testing with a Multimeter
A multimeter can quickly verify:
- Power supply voltages
- Transistor operating points
- IC supply pins
- Resistance values
- Ground continuity
Abnormal readings often indicate the location of the fault.
Signal Tracing Method
Signal tracing is one of the most effective PCB troubleshooting techniques.
Inject a known signal into the circuit and use an oscilloscope to follow the signal stage by stage.
For example, when troubleshooting a multi-stage amplifier, a 1 kHz sine wave can be applied to the input.
If the waveform becomes abnormal at a particular stage, the fault is likely located there.
Comparison Method
Compare measured values from the faulty circuit with:
- A known good circuit
- Design specifications
- Theoretical calculations
Differences in voltage, current, or waveform characteristics often reveal the fault source.
Component Replacement Method
When a fault is difficult to identify, replacing suspected components with known-good parts can quickly narrow down the problem area.
This method is especially useful when diagnosing intermittent or hidden failu
Bypass Method
Temporary capacitors can be used to bypass suspected oscillation points.
If unwanted oscillation disappears after bypassing a node, the fault is likely located nearby.
Short-Circuit and Isolation Testing
Engineers frequently use:
- Temporary shorting techniques to identify open-circuit faults
- Isolation techniques to locate short-circuit faults
For example, disconnecting branches of a power supply one at a time can help locate the section causing excessive current consumption.
Understanding how to test circuit for short on electronic board requires more than simply using a multimeter. Accurate measurements, proper debugging procedures, and systematic fault diagnosis are equally important.
By following the precautions and troubleshooting methods outlined above, engineers can identify PCB faults more efficiently, reduce debugging time, and improve overall circuit reliability.